15 Ops for the screening
15.1 First time: preparing a PC
To prepare your PC for screening, you need to do two things. First, download JabRef. Second, configure JabRef.
15.1.1 Downloading and installing JabRef
To download JabRef, visit https://jabref.org and click the “Download” hyperlink or scroll down to the Download section. Then download and install JabRef.
15.1.2 Configuring JabRef
Then, you need to configure JabRef. JabRef is not created for screeening; it is a reference manager, like Zotero (or the ‘Closed Science’ alternatives such as EndNote, Mendeley, or RefManager). However, it is exceptionally well suited for screening because of two reasons. First, it is very customizable - so customizable that you can hide arbitrary information, making it possible to mask screeners from, for example, authors, journal name or publication year. Second, it uses the BibTeX file format and supports arbitrary field names. This makes it easy to create dedicated fields where the screening decisions can be stored.
The configuration of JabRef consists of a number of actions to optimize JabRef for screening comfort, efficiency, and integrity (i.e., masking the screeners from potentially biasing information). The following screenshots were taken with JabRef version 5.91, so if you have another version, your interface might look slightly different.
15.1.2.1 Configuring JabRef: opening the Preferences dialog
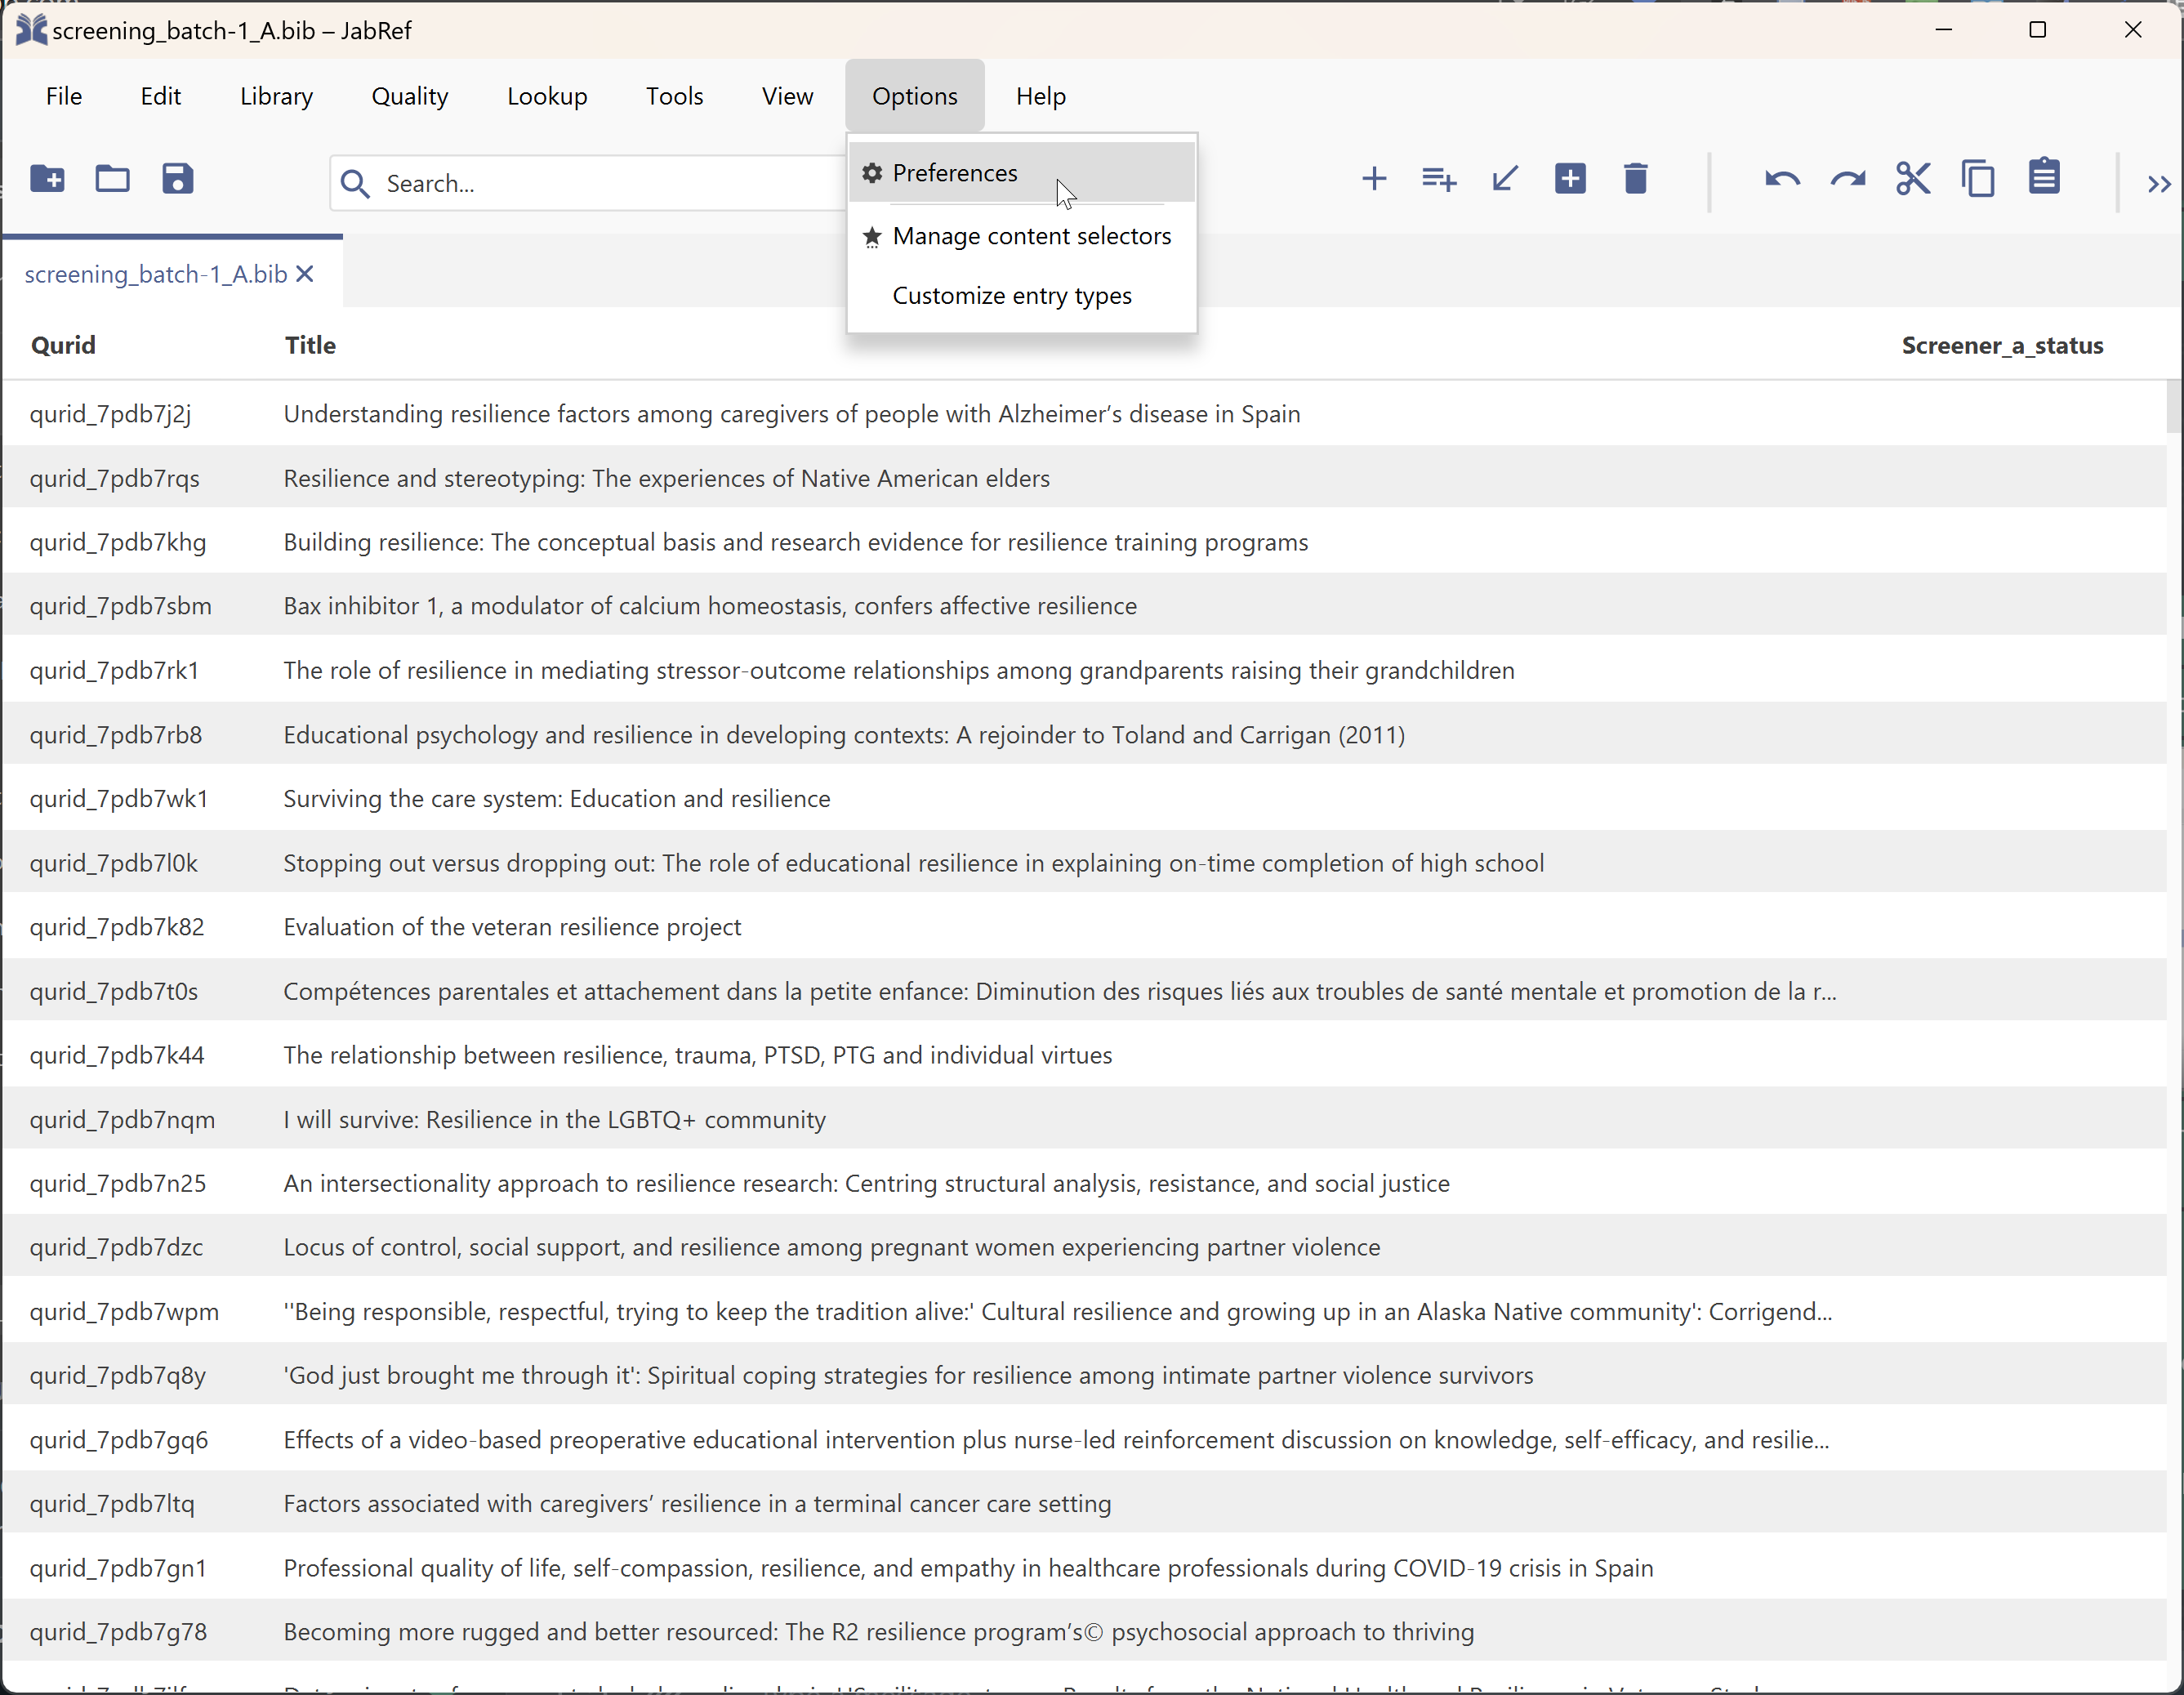
To open the options, click the Options menu and select the Preferences option as shown in Figure 15.1.
15.1.2.2 Configuring JabRef: the Entry Table columns
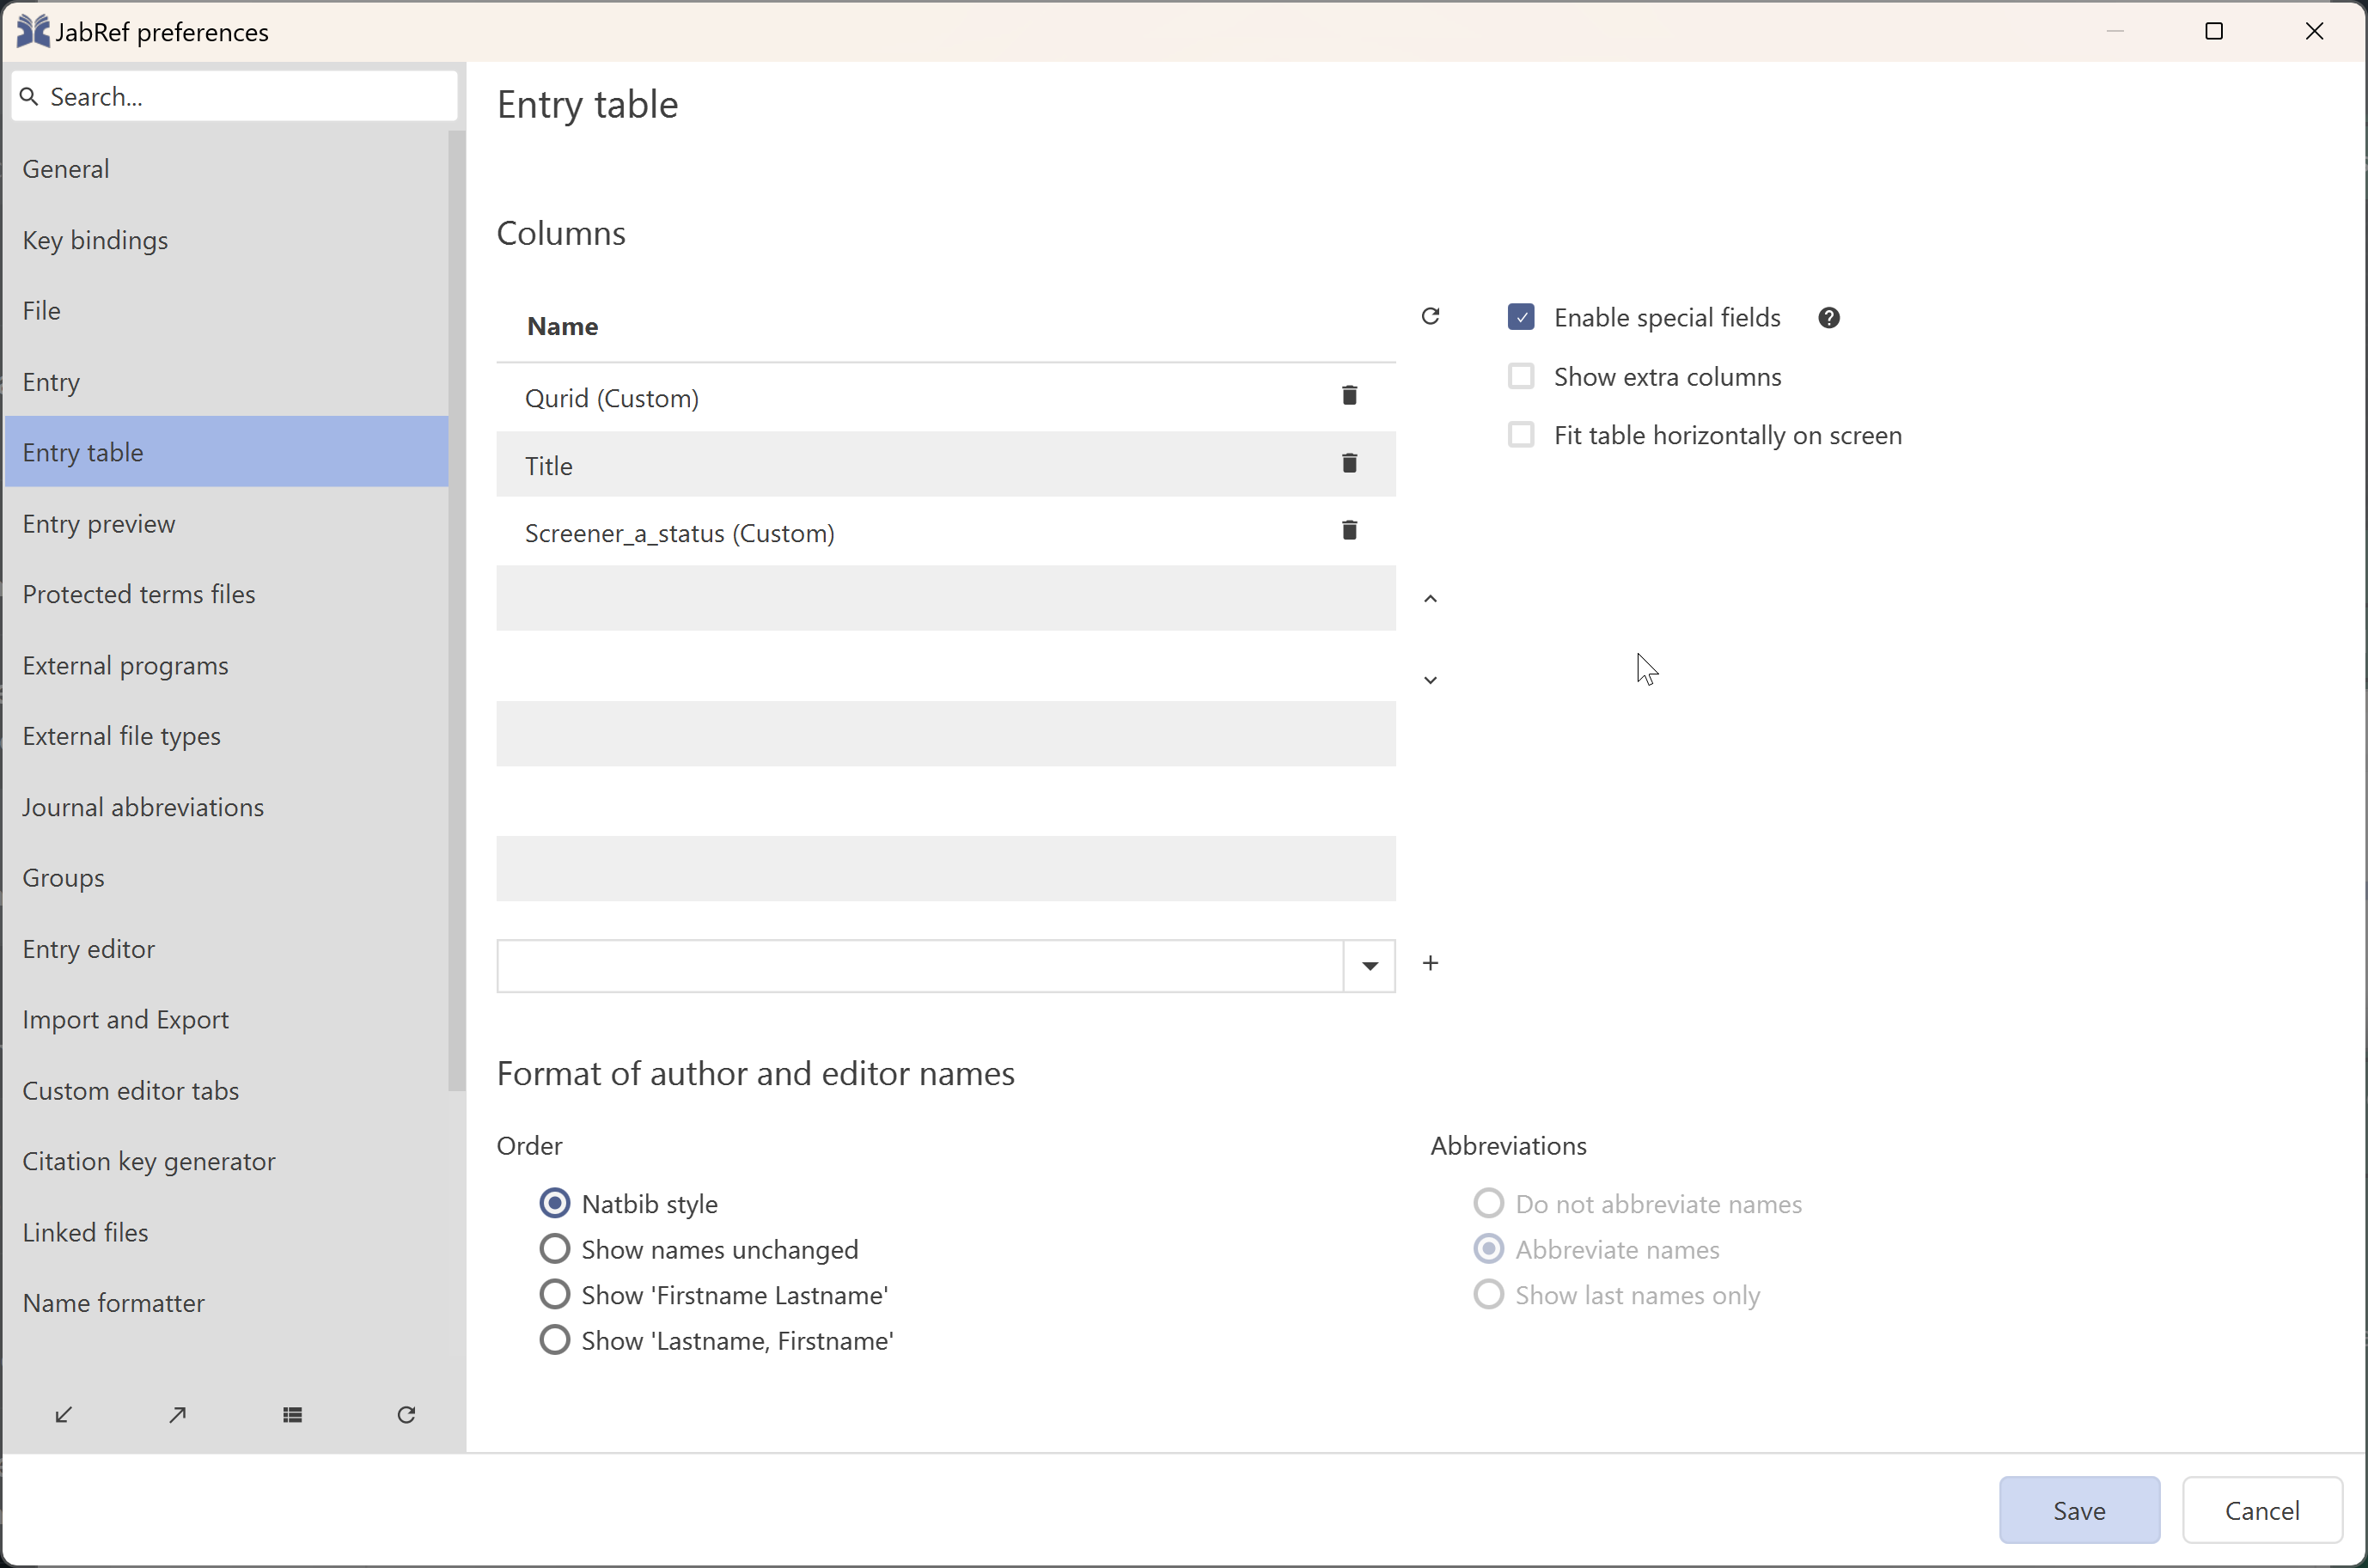
Open the section for the Entry Table (see Figure 15.2). Below the table labelled “Columns”, add two new fields. The first is labelled “qurid” (assuming that’s where the quasi-unique record identifiers, the QURIDs, are stored; you create these with metabefor::generate_qurids()). The second is the name of the field you will use for the screening. This field is set when calling metabefor::write_screenerPackage(). If you yourself do not manage this part of the project, the person(s) who do probably informed you of this field name (it will generally contain the identifier for every screener, and may also contain an identifier for the screening round, if screening occurs in multiple rounds, and finally it may contain an identifier for the screening batch, if screening occurs in multiple batches). In Figure 15.2, this field is “Screener_a_status”.
Once you added both of these fields, remove all other fields except for “Title”, so you remain with only three fields (as shown in Figure 15.2).
15.1.2.3 Configuring JabRef: the Entry Editor tab
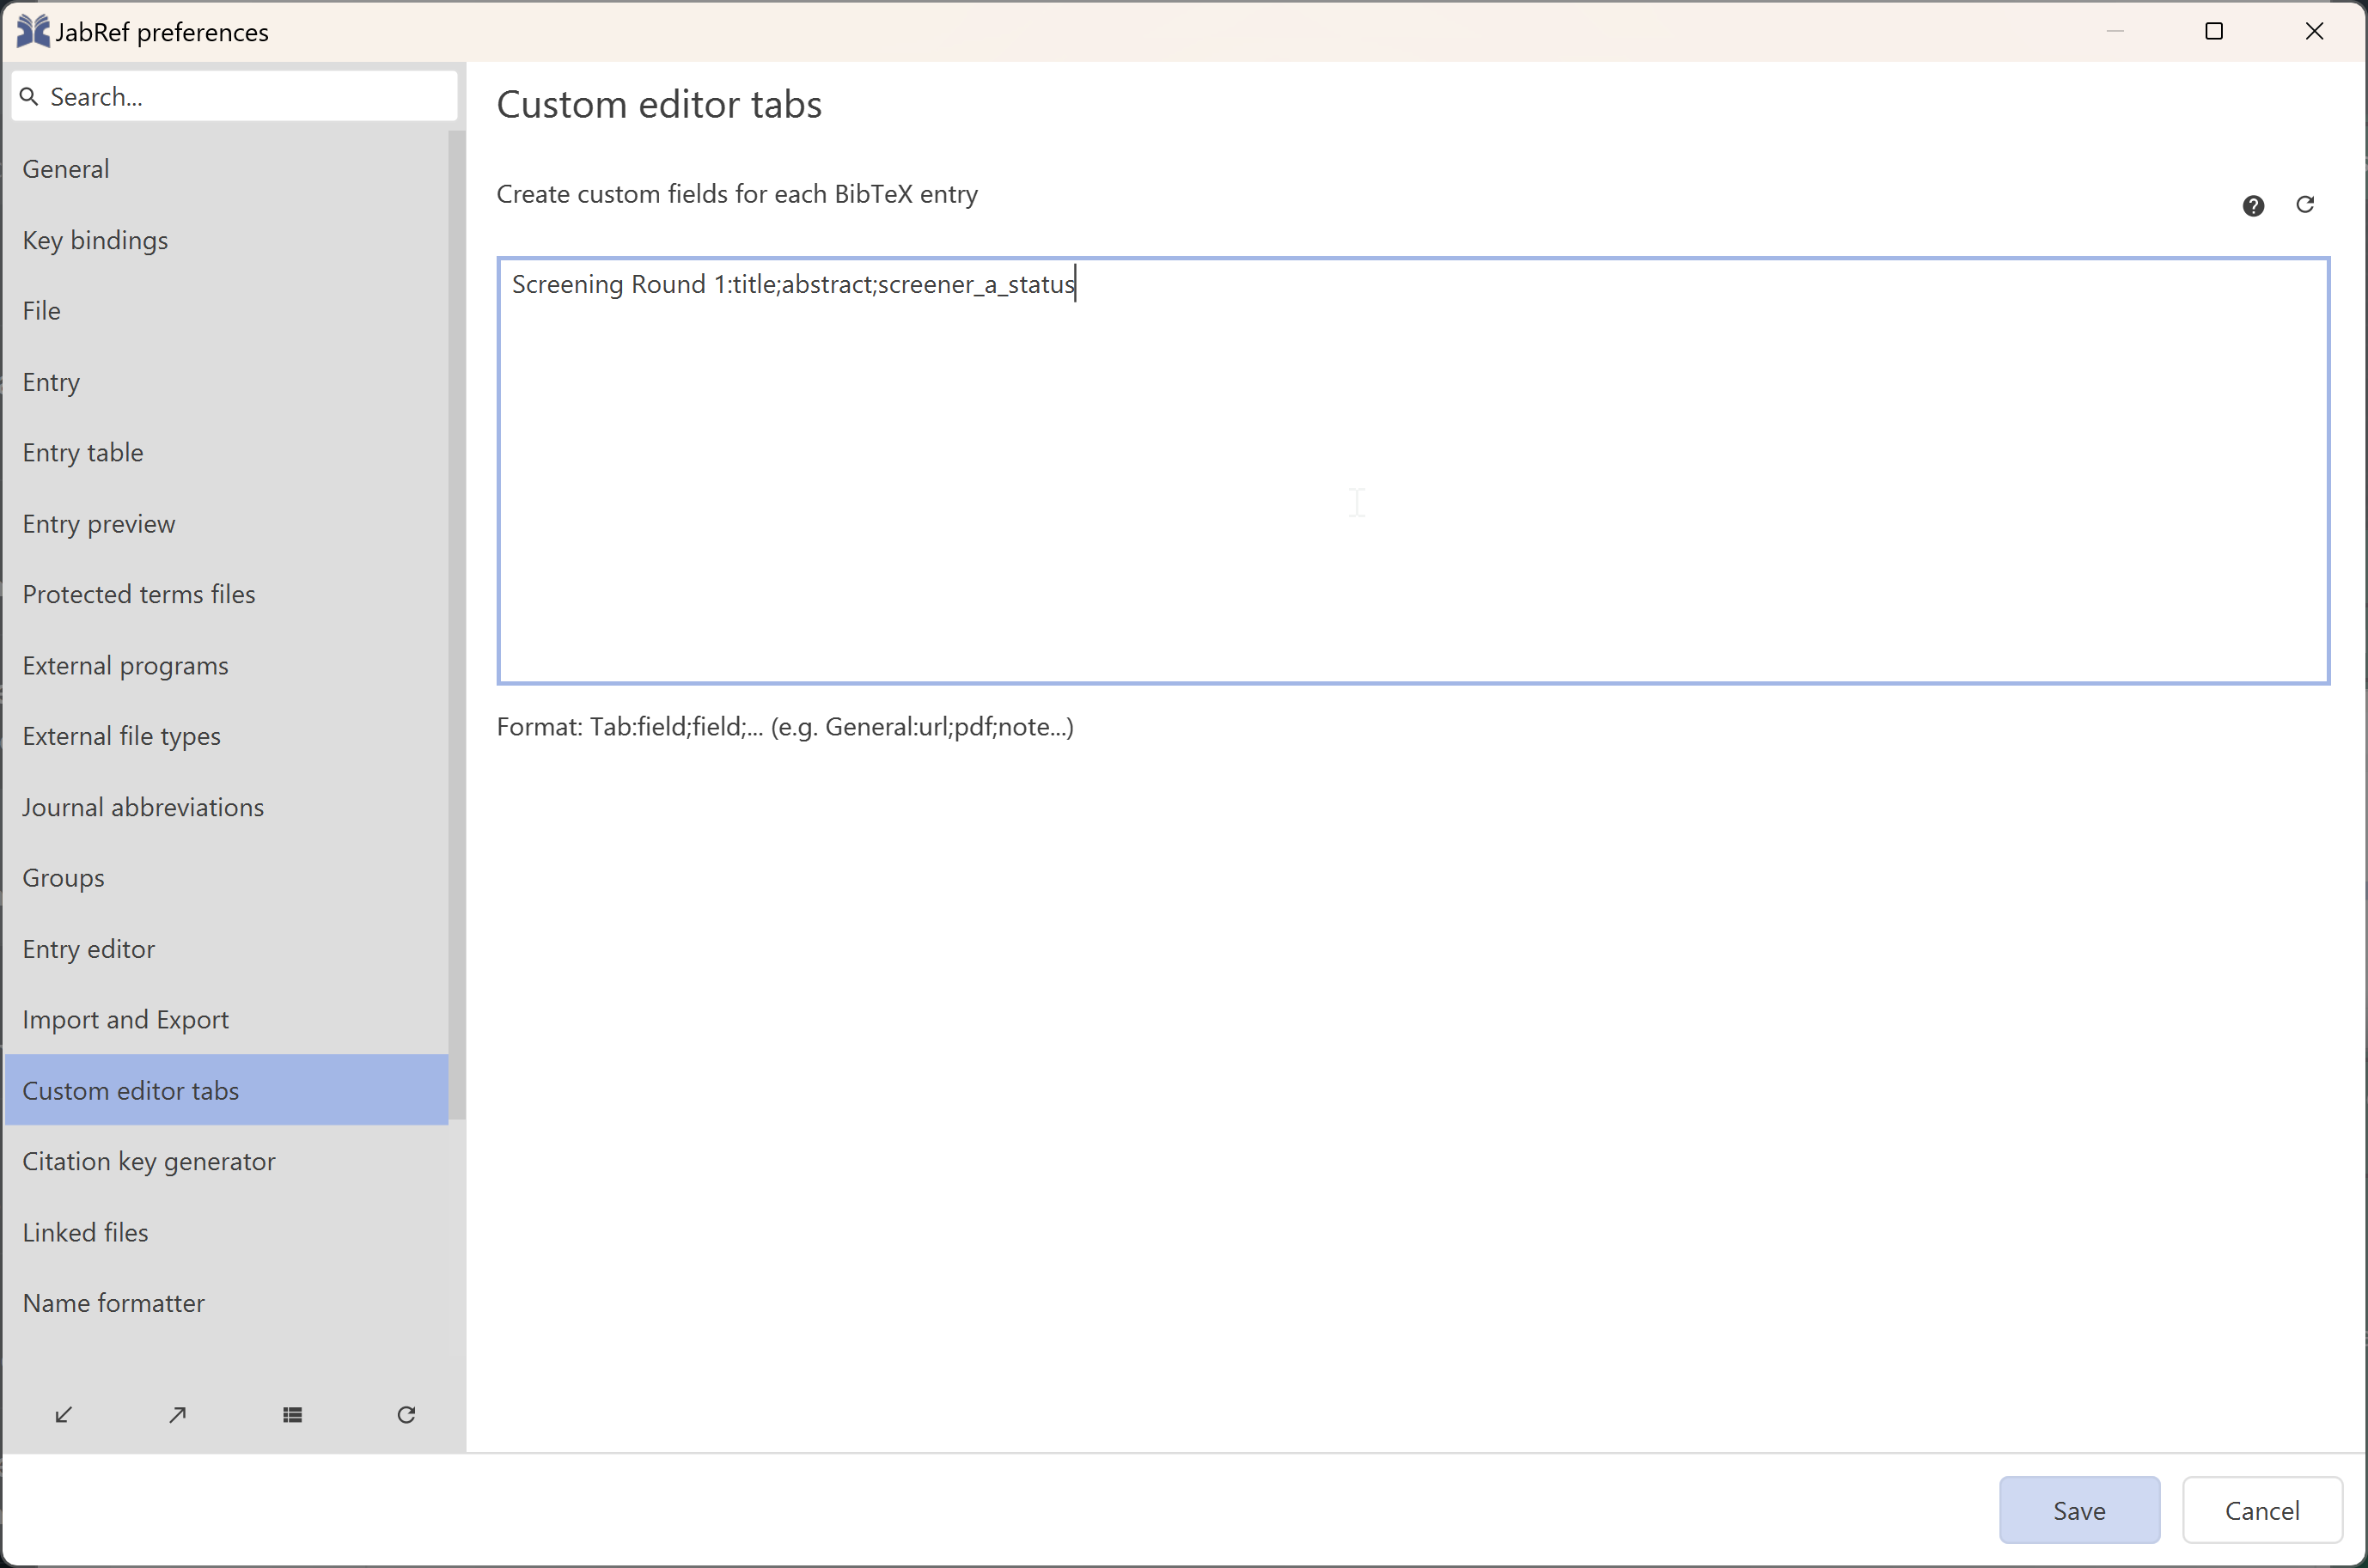
Open the section for the Entry Table (see Figure 15.3). In the large text field, every line represents one custom entry editor tab. Add a line with the name of the tab (e.g. “Screening”, or, as in the example in Figure 15.3, “Screening Round 1”), immediately followed by a colon (“:”), and then followed by the fields to show separated by semicolons (“;”). Specify the “title” and “abstract” fields as well as the field you use to store the screening decisions. This is the same field that you added to the Entry Table in the previous step (in our example in Figure 15.2 and here in ?fig-ops-screening-entry-editorm this is “screener_a_status”).
15.1.2.4 Configuring JabRef: the Entry Preview tab
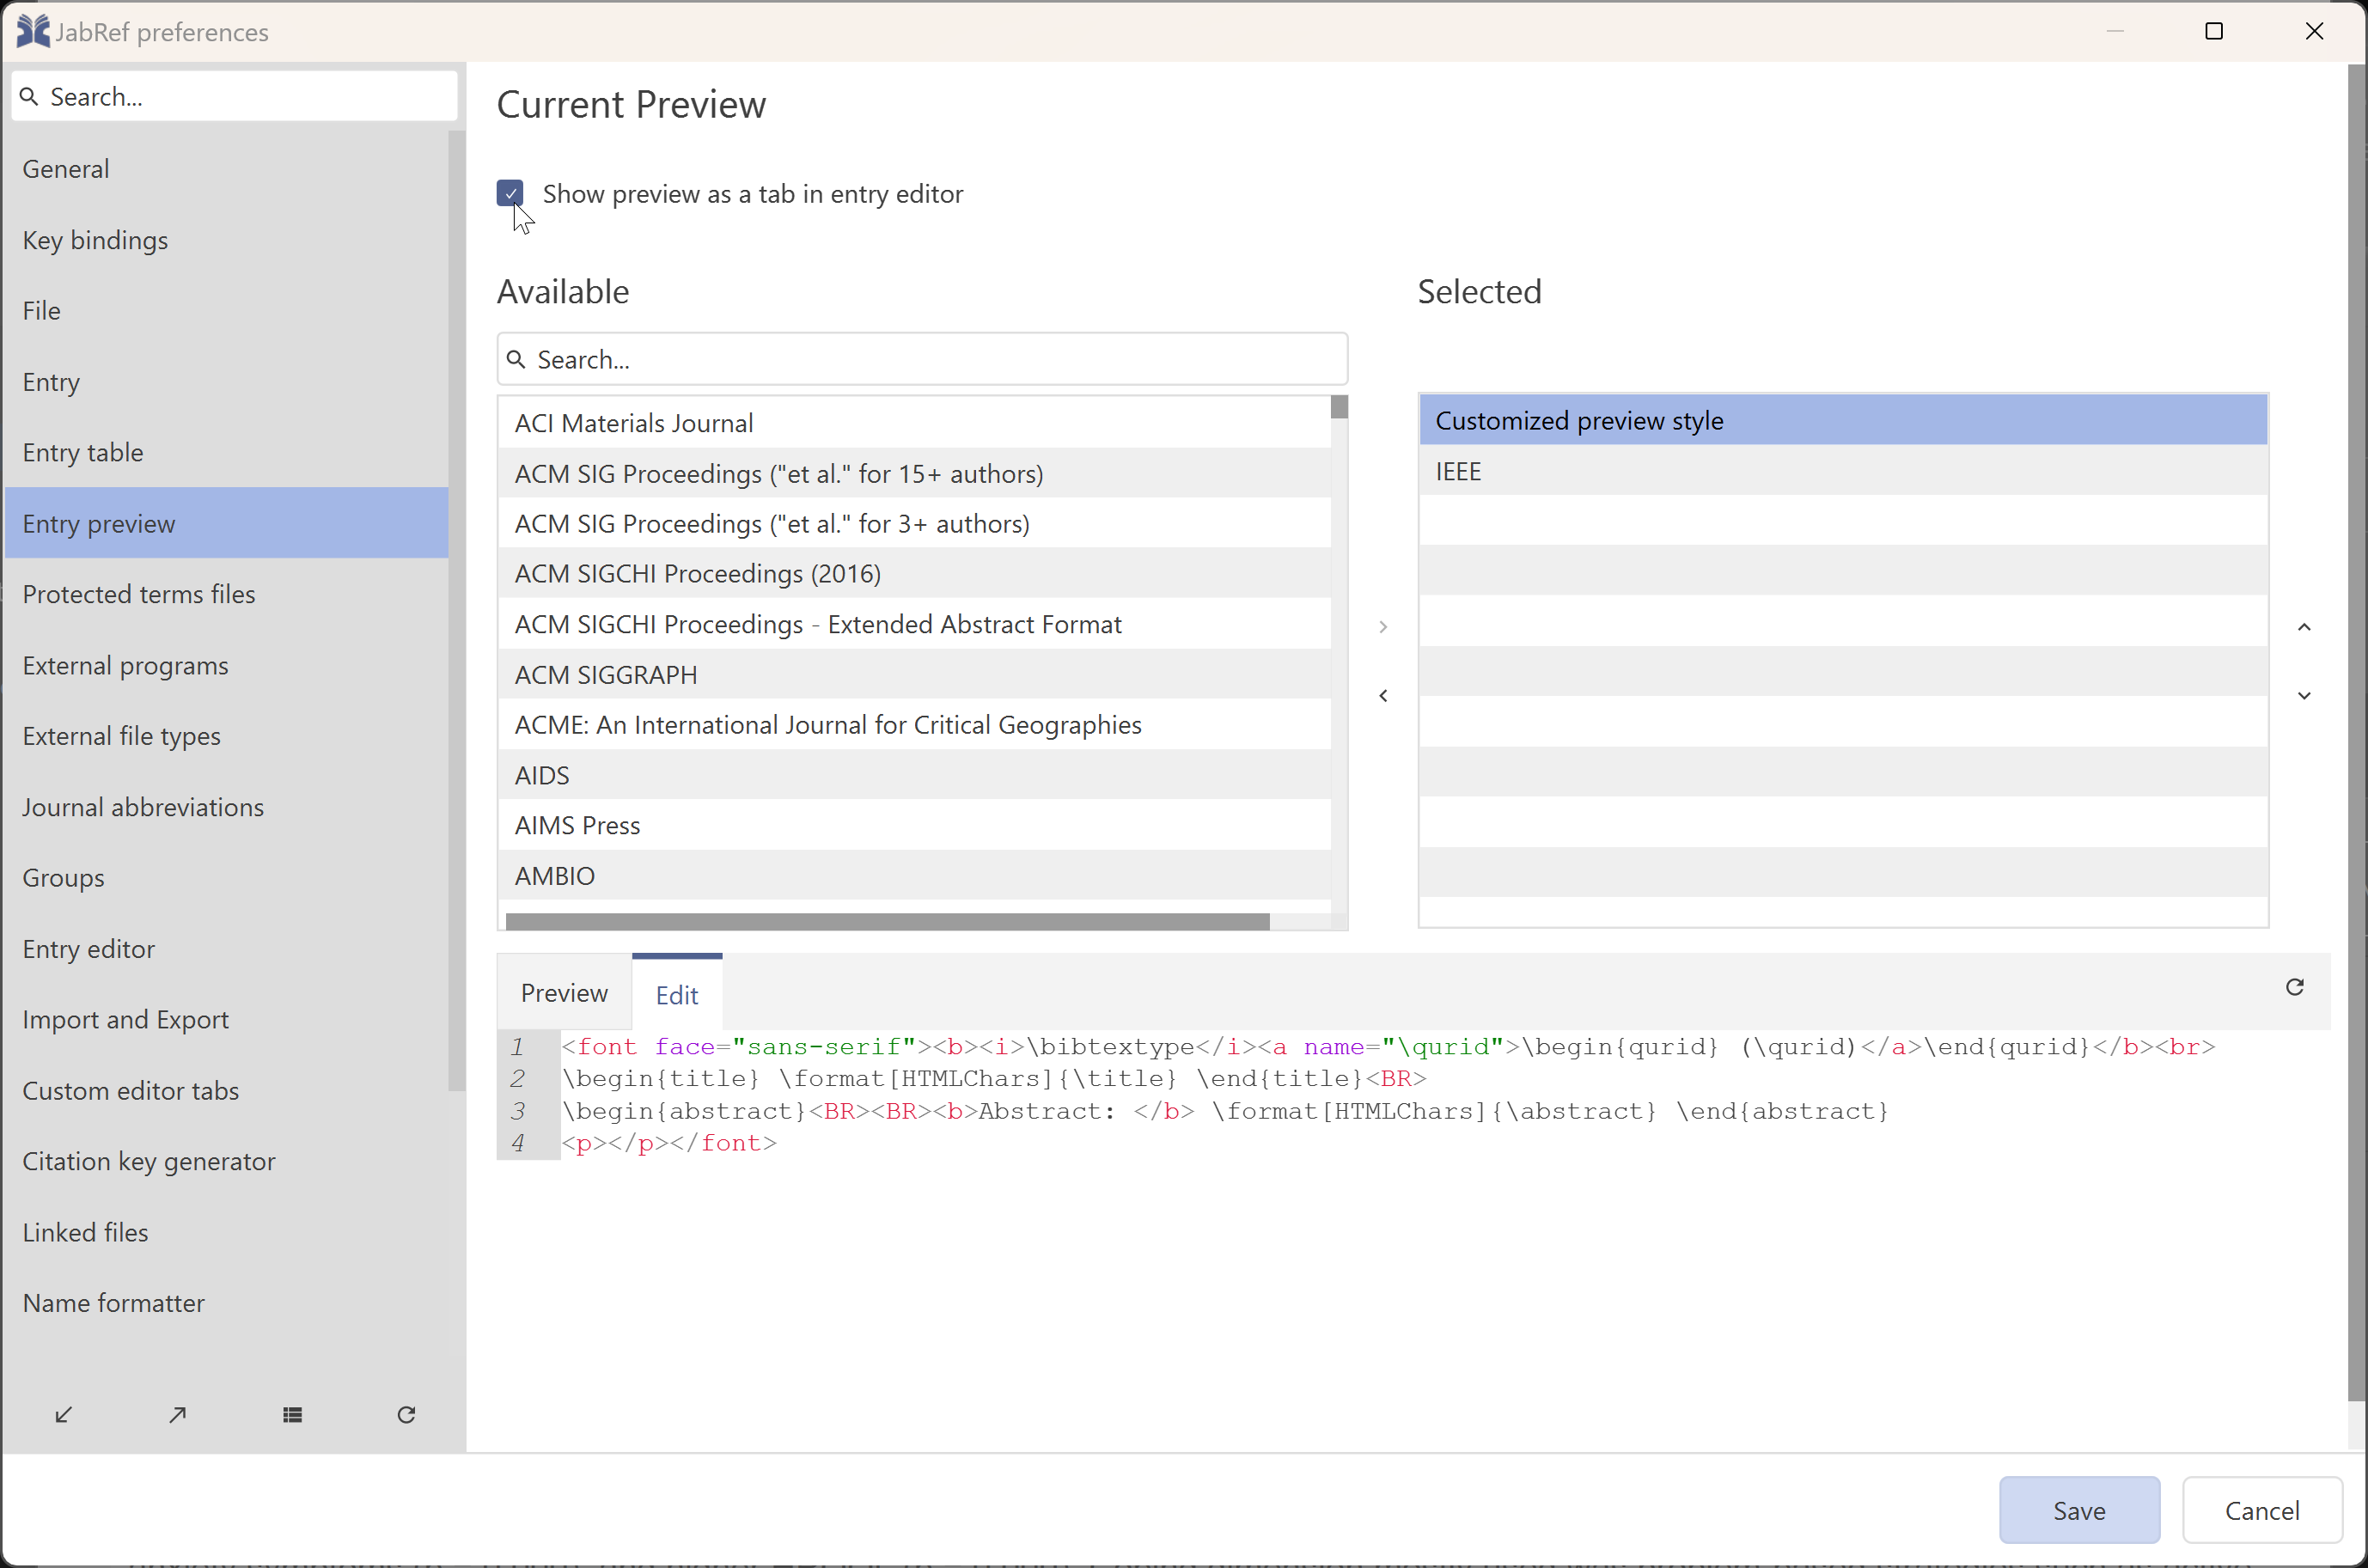
Open the section for the Entry Preview (see Figure 15.4). Select a preview style in the box on the left and click the “Edit” tab. Then, copy-paste the following text:
<font face="sans-serif">
<b><i>\bibtextype</i><a name="\qurid">\begin{qurid} (\qurid)</a>\end{qurid}</b><br>
\begin{title} \format[HTMLChars]{\title} \end{title}<br>
\begin{abstract}<BR><BR><b>Abstract: </b> \format[HTMLChars]{\abstract} \end{abstract}
<p></p></font>
This will ensure the entry preview also will not disclose information that the screeners should be masked from (e.g. authors, journal, or publication year).
Instead of doing this, you can also achieve the same result by checking the checkbox for “Show preview as a tab in entry editor” if you want. This will mean you no longer see the entry preview to the right of the entry editor, but it’s in its own tab instead (see Figure 15.4).
15.1.2.5 Configuring JabRef: Shortcut keys
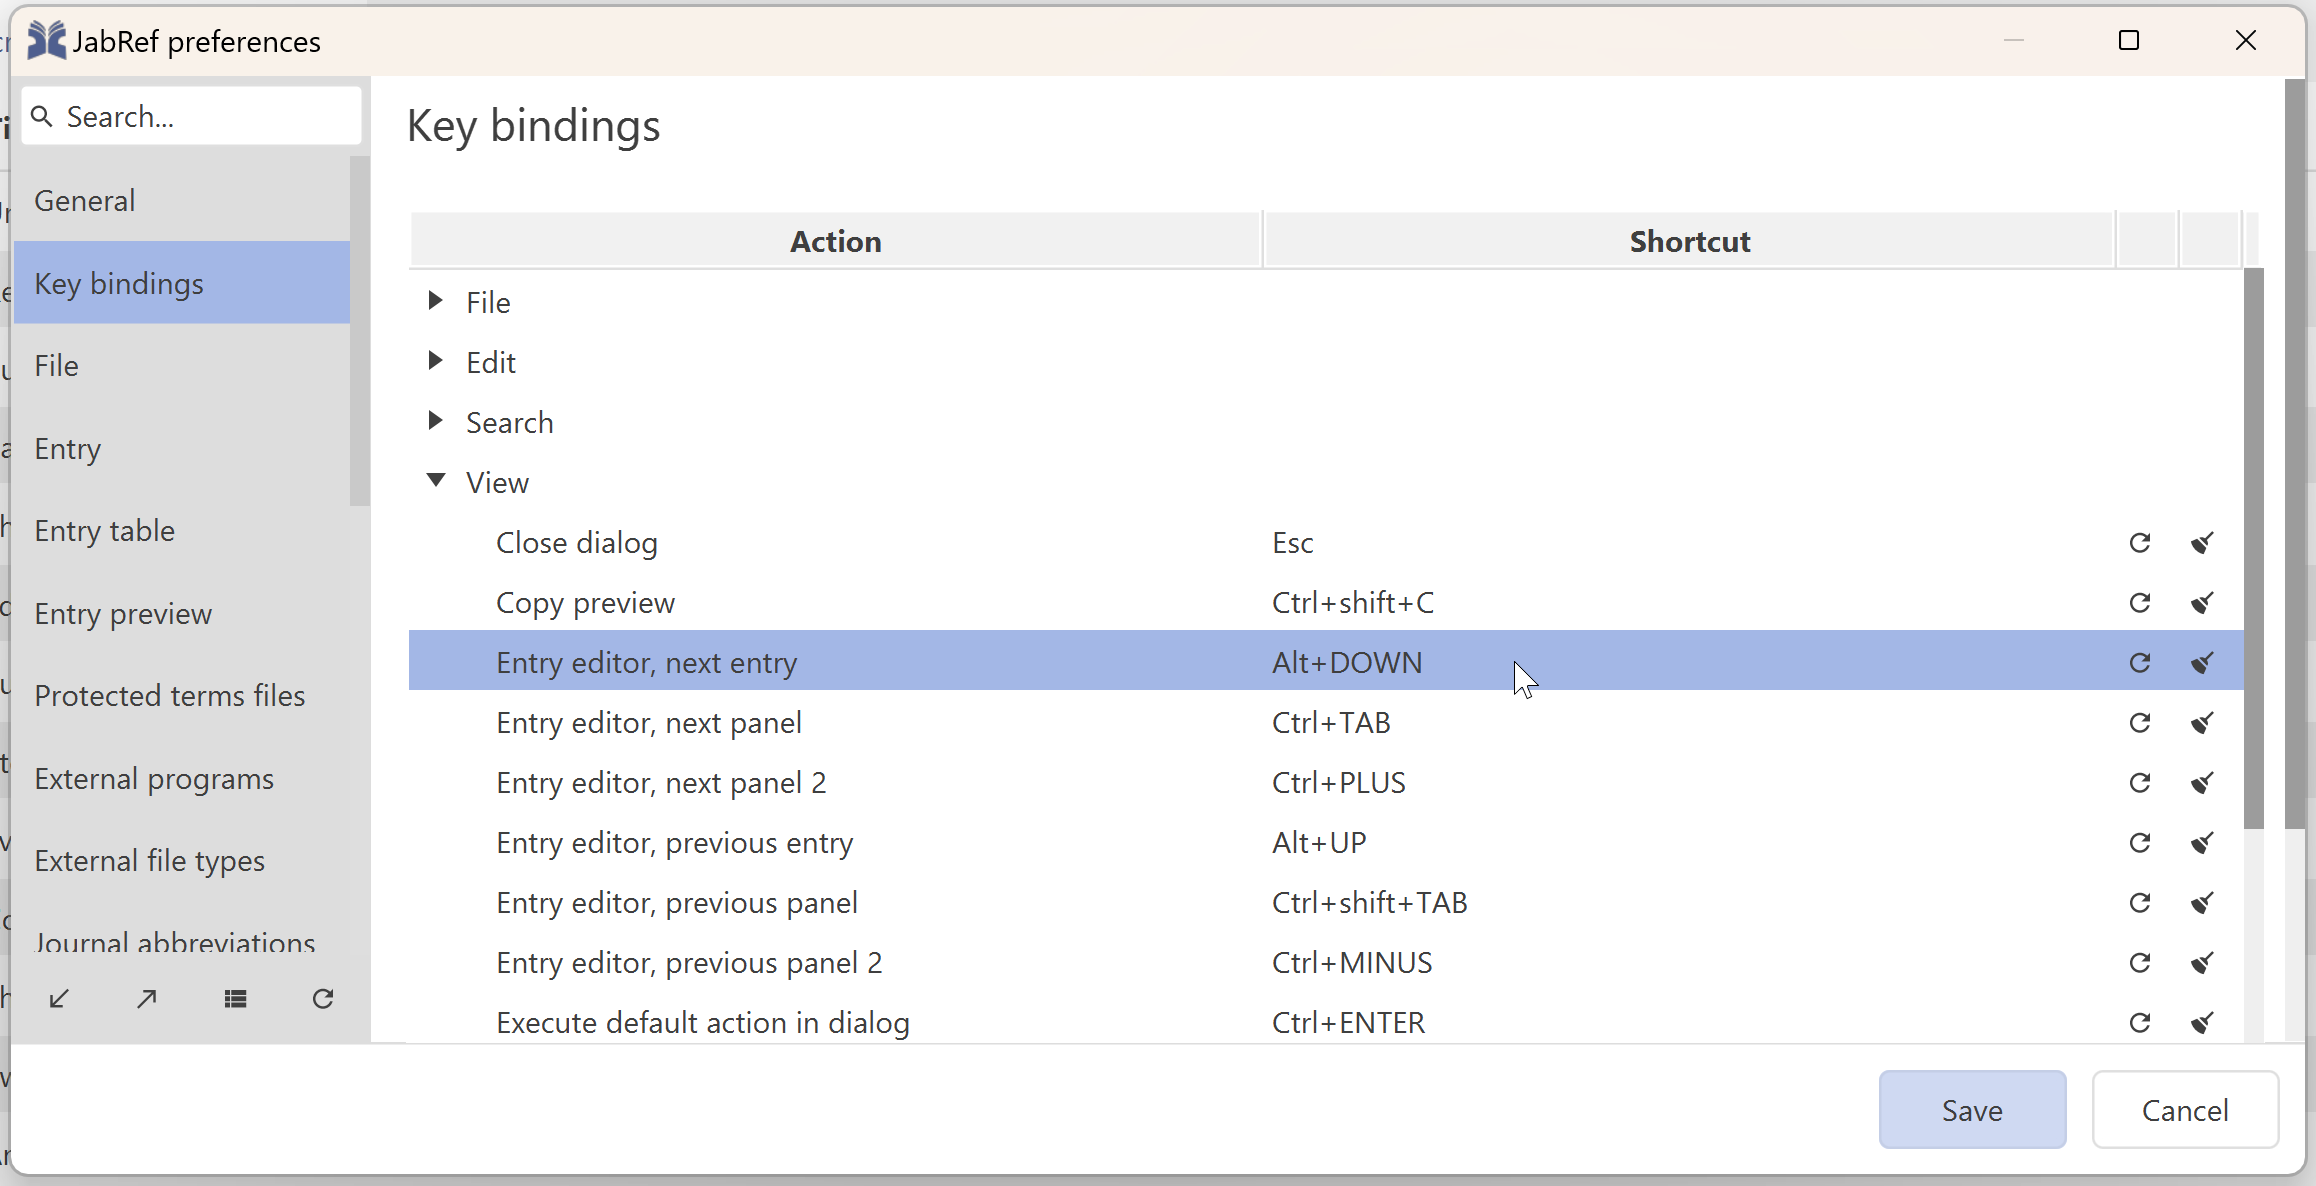
The last customization is setting the shortcut keys to easily cycle through the hits to screen. You set these in the Key Bindings section (see Figure 15.5).
Expand the actions clustered in the “View” cluster and set the shortcut key you want for “Entry editor, next entry” and “Entry editor, previous entry”. This will allow you to cycle through the entries without having to use the mouse, which is considerably more efficient.
15.1.2.6 Configuring JabRef: separator dragging
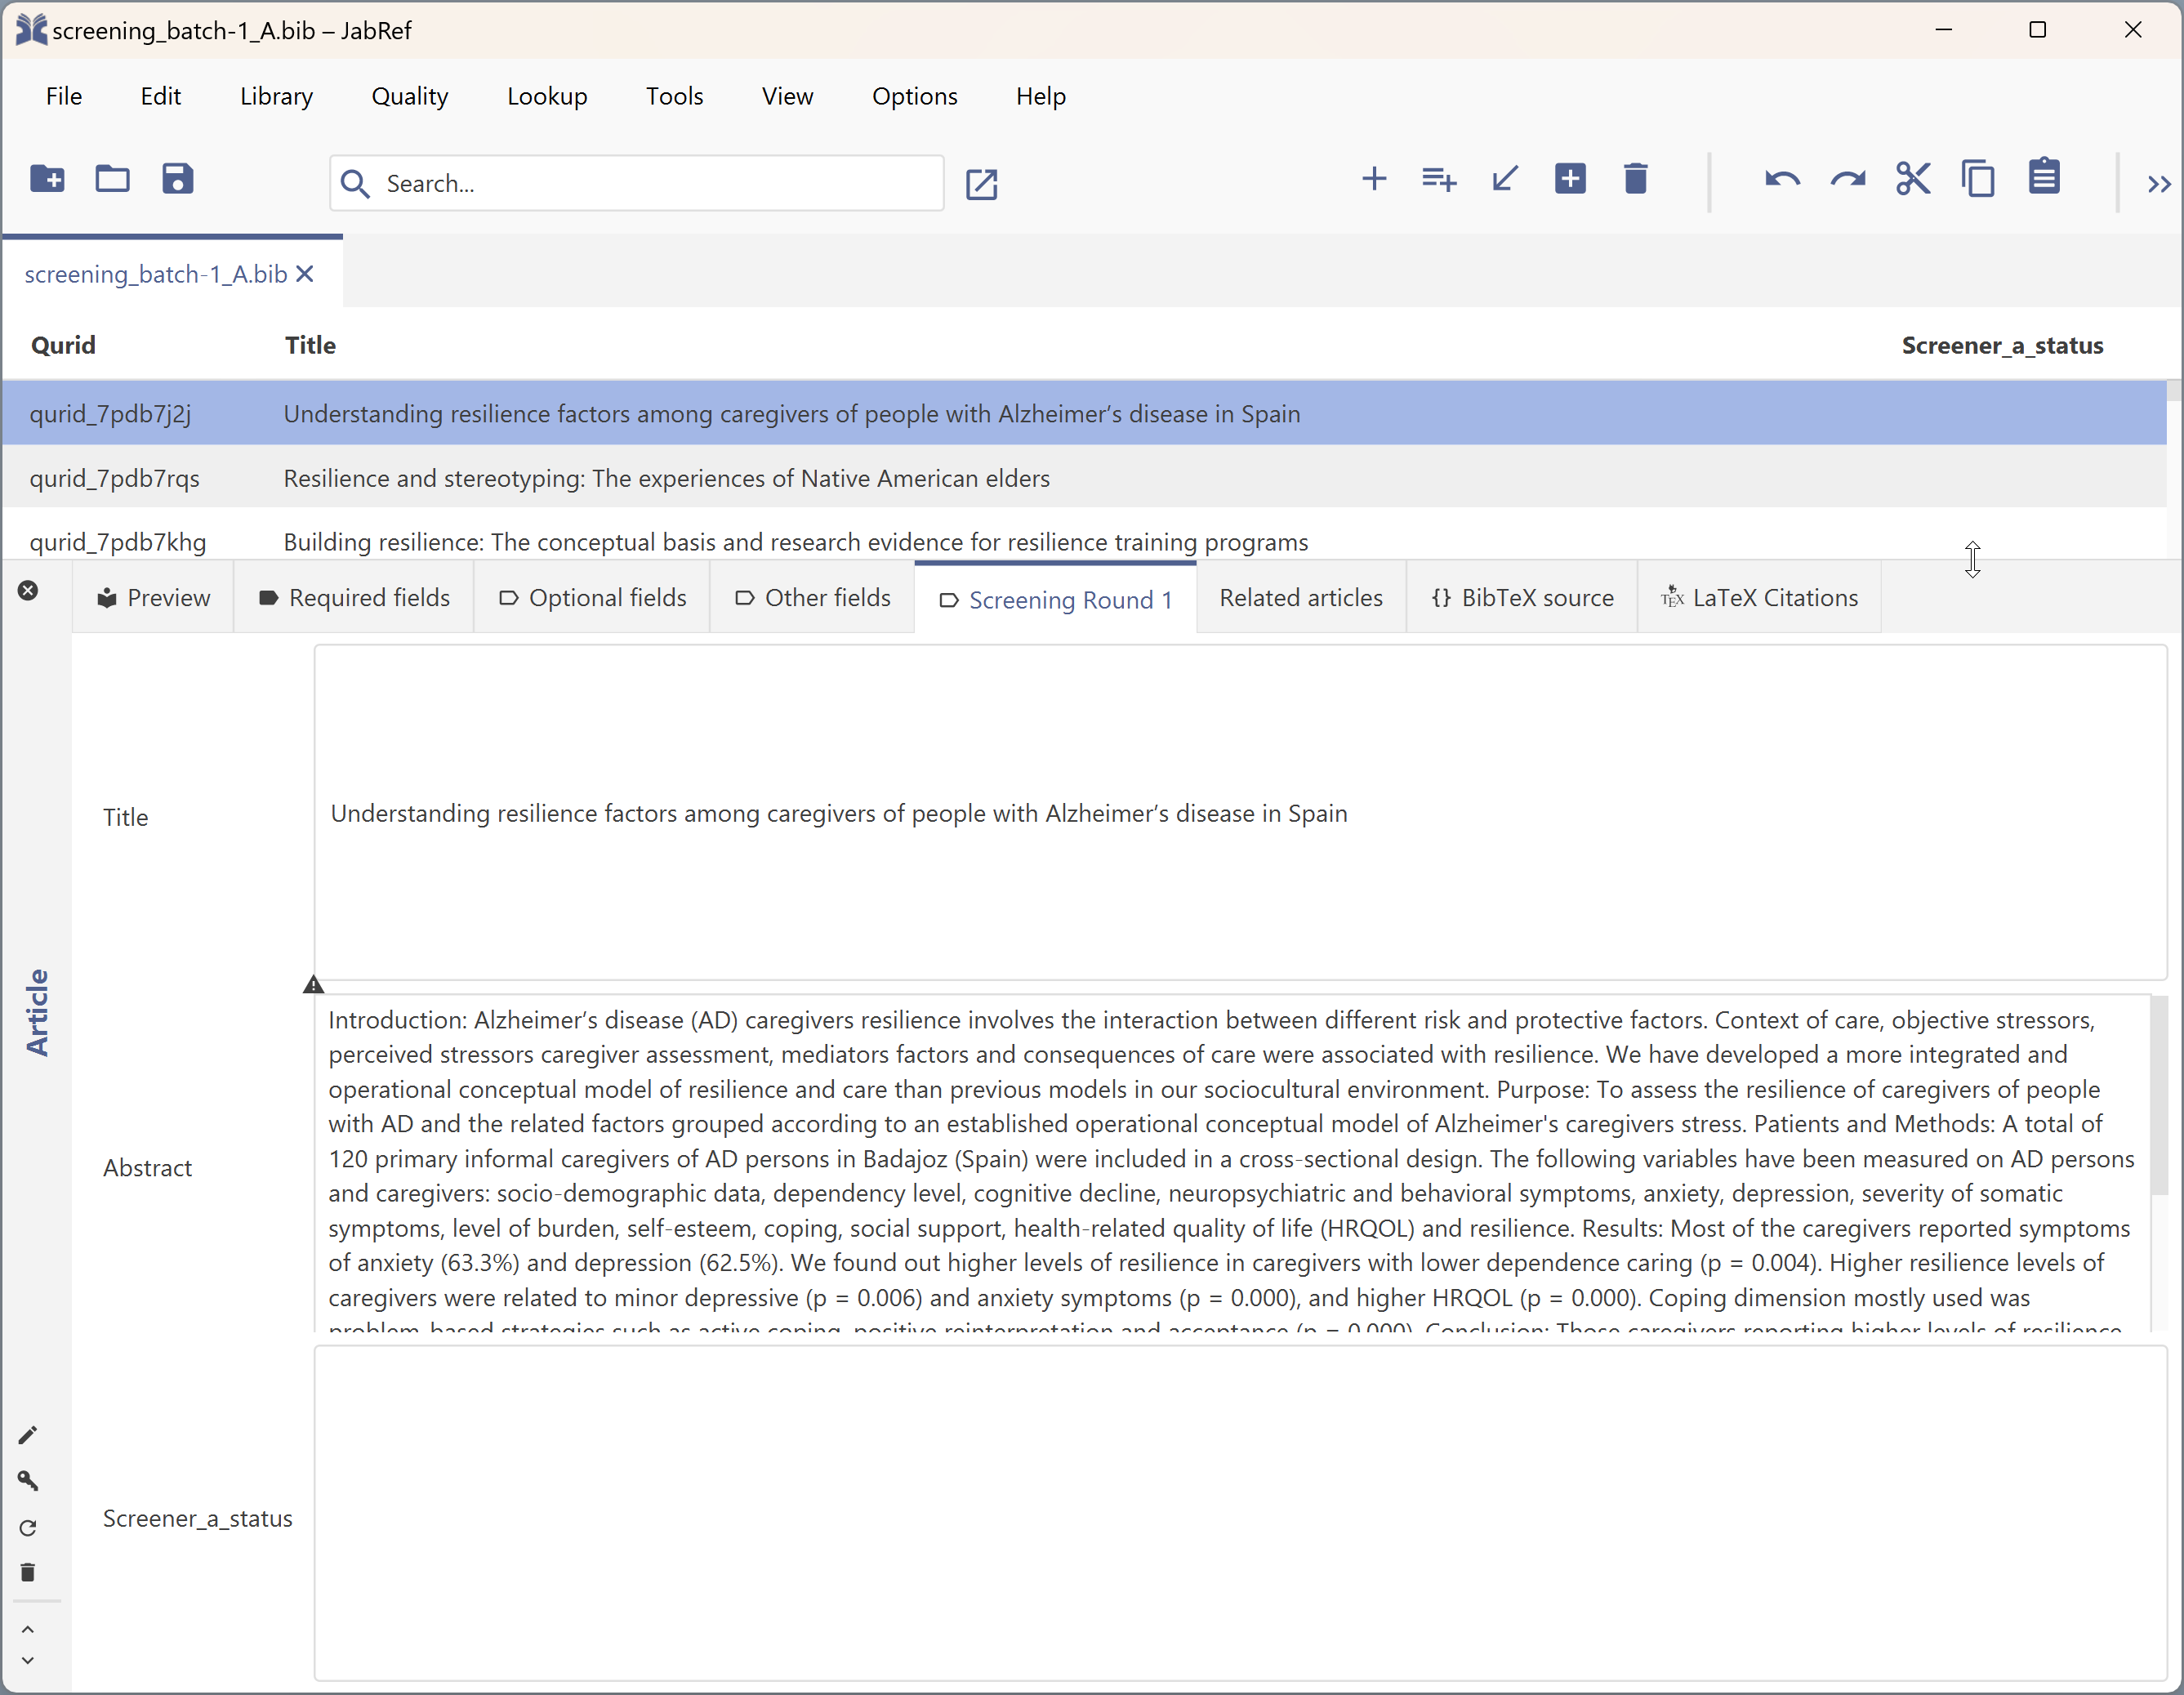
Finally, drag the horizontal separator between the entry table and the entry editor up, so that the entry editor becomes larger (see Figure 15.6).
15.2 In every screening session
Every time you do a screening session, you do the following.
- Open JabRef.
- In JabRef, open the
.Bibfile containing the hits. - Locate the entry where you want to start screening.
- Double click it to open it. Potentially adjust the horizontal separator between the entry table (showing all entries) and the entry editor so that you can read as much of the abstract as possible.
- Apply the first exclusion criterion in the list of progressive exclusion criteria. If you are confident, based on the title and the abstract, that the description of that exclusion criterion applies to this hit (called “entry” in JabRef), type the corresponding code in the screener field. If not, progress to the next exclusion criterion.
- Apply the next exclusion criterion in the list of progressive exclusion criteria. If you are confident, based on the title and the abstract, that the description of that exclusion criterion applies to this hit (called “entry” in JabRef), type the corresponding code in the screener field. If not, progress to the next exclusion criterion.
- Repeat 6 until you have evaluated all exclusion criteria. If you cannot confidently say that one of the exclusion criteria applies to this hit/entry/source, it is included (i.e. will be retained in this phase). Enter the corresponding code into the screening field (e.g. “IN” or “Incl” or “Included”).
- Move to the next entry/hit/source by clicking it in the entry table at the top, or by using the key combination you configured for “Entry editor, next entry” when preparing your computer for screening.
- If you have screened all entries/hits/sources (i.e. you have typed something in the screening field of all of them), you are done. Save the
.bibfile, close JabRef, and store the.bibfile in whichever location is listed in your project’s data management plan. Sometimes, this is handled by somebody else - in that case, send the.bibfile to them. - If you are not done, but taking a break, depending on what you agreed on, just save the
.bibfile and JabRef and you’re done; or store the intermediate version in the location in your project’s data management plan or send it to whoever handles the project’s data management (as extra security/redundancy).
Well done - you’ve now created an open, machine readable list of your screening decisions that can then be pooled with other batches, screening decisions from other screeners, or even other projects.
Specifically, JabRef 5.9–2023-01-08–76253f1a7 on Windows 11 10.0 amd64 and running Java 19.0.1 and JavaFX 19+11.↩︎